Design Ideas
Six Junk Journal Layouts with Pressed Flower PNGs
Pressed flowers and junk journals belong together. Both are about keeping things: a walk, a season, a letter. Real pressed flowers are fragile, though, and you only get to use each one once. A printed pressed-flower PNG keeps the same faded colors and papery texture, and you can print it as many times as you like, at any size.
Here are six layouts to try, and some free pressed flowers to start with.
- Free
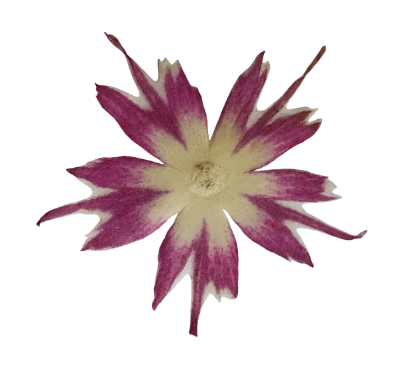 Pressed Magenta Cosmos
- Free
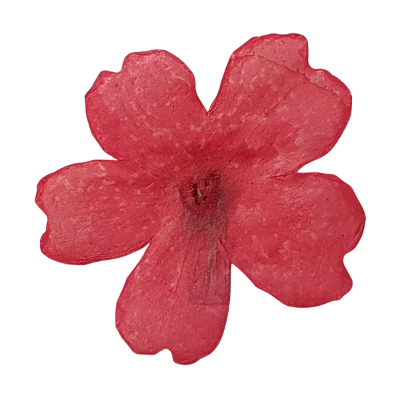 Pressed Pink Cosmos, Coral Red
- Free
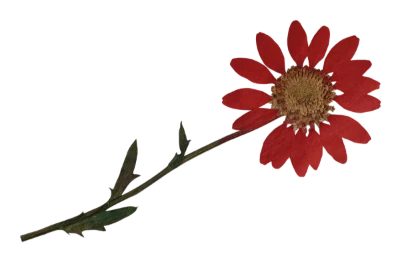 Pressed Red Daisy on a Long Stem
- Free
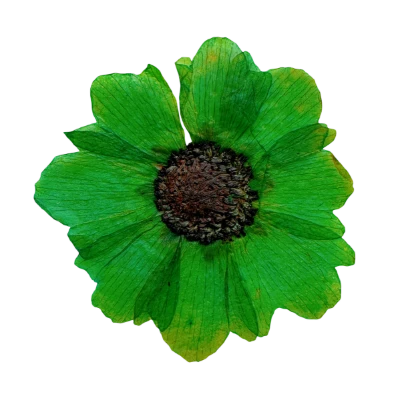 Pressed Green Daisy
- Free
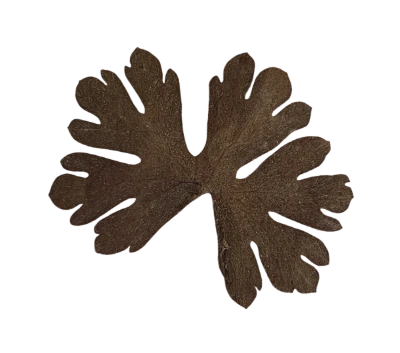 Pressed Brown Oak Leaf
- Free
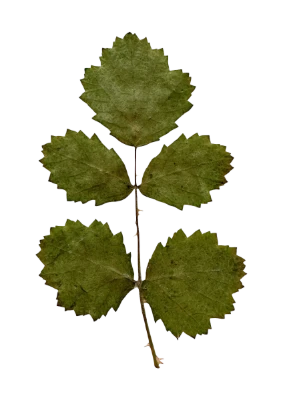 Pressed Green Clover Leaf
1. The corner cluster
Group three to five flowers and a leaf in one corner of the page, overlapping slightly, with stems pointing in roughly the same direction. Leave the rest of the page for writing. An odd number of pieces almost always looks more natural than an even one.
2. The specimen card
Place a single flower in the middle of a plain card or tag, and write its name and the date underneath in small handwriting or a typewriter font, like a label in a herbarium. It is the simplest layout here and one of the most striking. Larger, flatter flowers such as cosmos and daisies work best.
3. A border strip
Line flowers and leaves along one edge of the page, alternating sizes and colors, to make a strip you can cut out and glue down, or print directly on the page. Rotating every other piece slightly keeps the strip from looking like a pattern.
4. Over text and ephemera
Lay a flower so it overlaps the edge of an old ticket, a page of a book or a handwritten note. The overlap is what makes collage feel layered. Because the PNG is transparent, the paper beneath stays visible around the petals.
5. Scattered petals and leaves
Instead of whole flowers, scatter small pieces (single leaves, buds, little sprigs) loosely across a spread. Vary the angles and keep some pieces partly off the edge of the page. This works well as a background for photos.
6. Pockets and envelopes
Print a flower and let it peek out of a glassine envelope or a paper pocket glued into the journal. Half-hidden, it looks like something kept rather than something placed.
Printing tips
- Print close to life size. Pressed flowers are usually small. Printing them at 4–8 cm keeps them believable; at full page size they start to look like a poster.
- Matte paper suits them best. Glossy paper fights the dry, papery look of the flowers.
- Light shadows, or none. Pressed flowers lie flat, so they need much less shadow than fresh ones. A very faint drop shadow is plenty.
- Cut with a small margin. If you cut out printed flowers by hand, leave a hairline of white around the shape; it reads like the edge of a sticker and saves fiddly cutting around fine petals.
Every flower in our pressed collection was a real flower, pressed and dried, then photographed and cut out. That is why the colors have the soft, faded quality of the real thing.